How to Make a Raspberry Pi Case using a DAT Tape Box - Blogs
How to Make a Raspberry Pi Case using a DAT Tape Box
While looking through my cupboard of goodies, I stumbled across an old DAT Tape and the size of it gave me an idea. The old DAT Tape box is only marginally bigger than the Raspberry Pi that was sat on my desk. So out came my knife and several slices later, the Raspberry Pi was sat in a nice clear plastic case. This documents the process I went through, as I did it (so it's not perfect)/
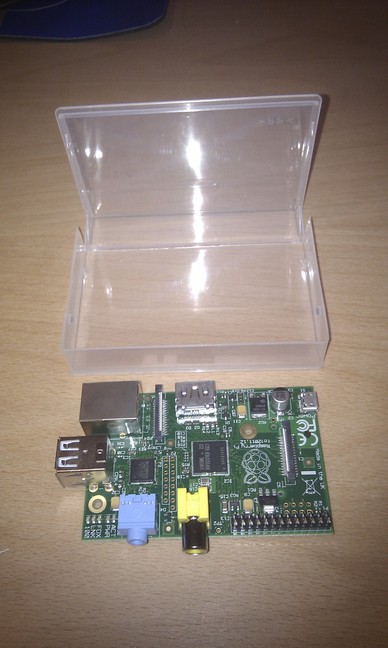
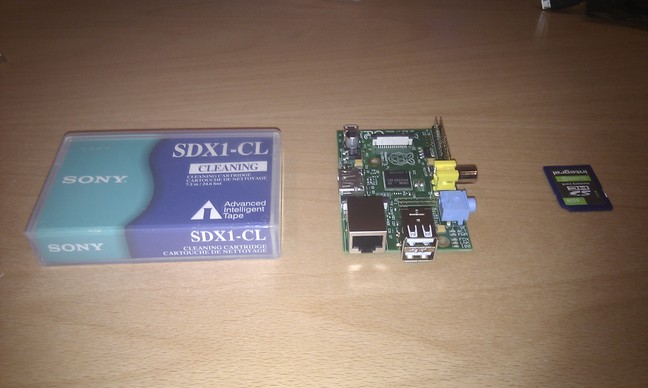
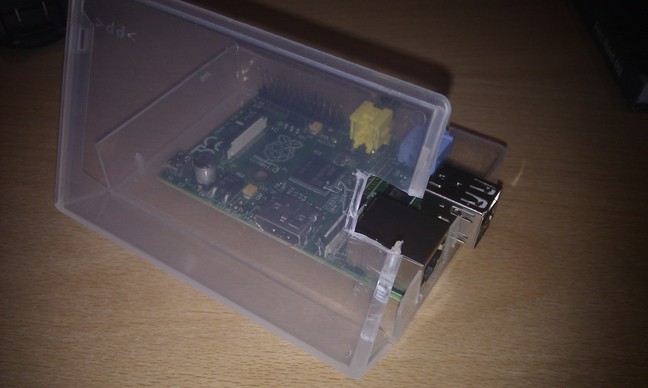
As you can see the Raspberry Pi and the DAT Tape case are almost the same size. The box is not quite tall enough to house the Raspberry Pi without cuts to the lid though.
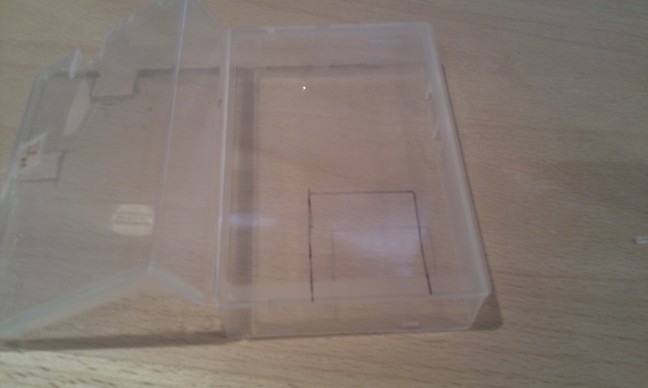
So what I needed to do was grab my knife and start modifying the DAT Tape case to accommodate the USB ports, RJ45 socket, coaxial connector and the audio out socket. As I don't intend to use the coaxial connector it seems a shame to have to cut out a hole for it, but it wouldn't fit otherwise. However, the advantage (I hoped) was that it would hold the Raspberry Pi in place.
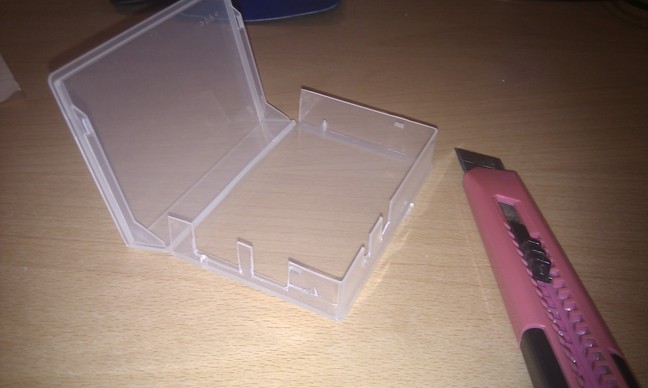
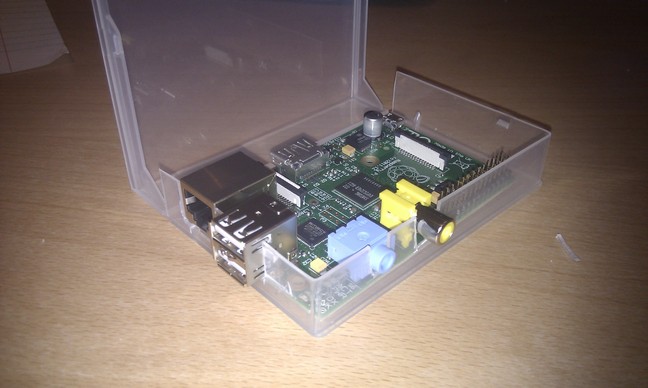 So after marking out the box for cuts, I attacked the box and attempted to place the Raspberry Pi into the box to see what more needed doing.
I was quite please that I could now see that this idea was going to work.
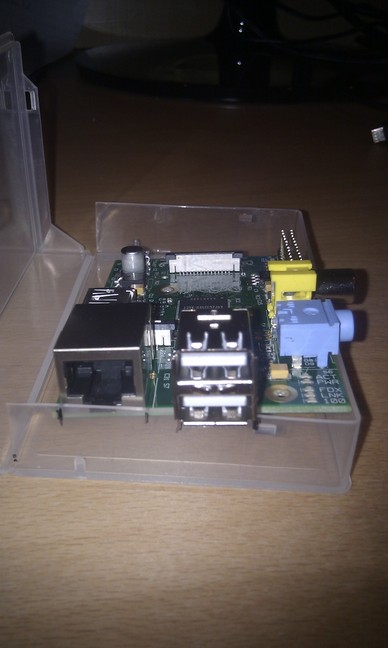
So I proceeding to finish the cuts to the lid, noting that the USB port protrudes, so I would need to cut an extra square out of the lid to accommodate.
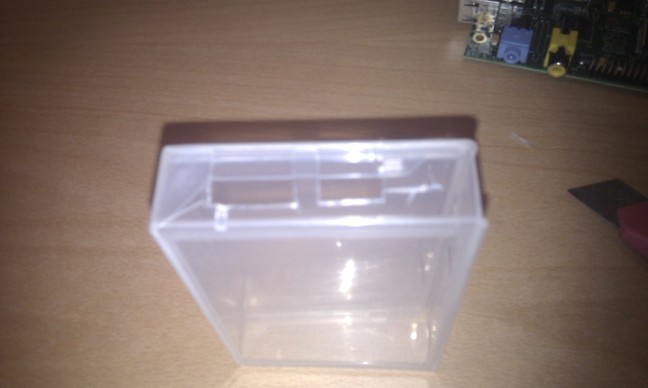
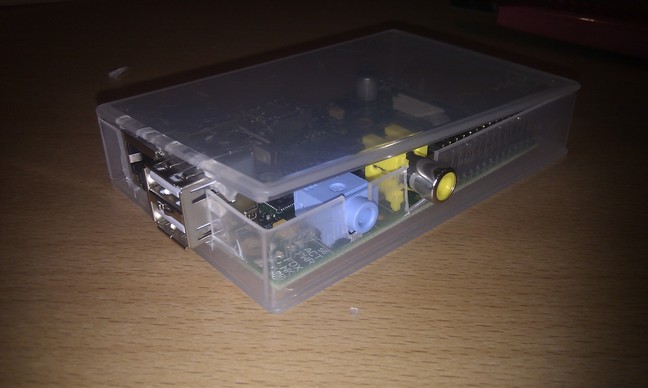
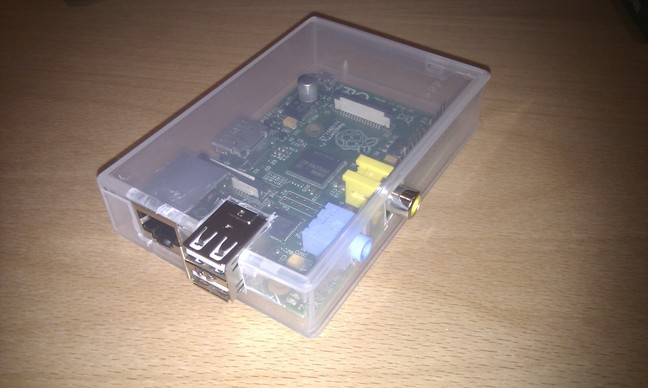
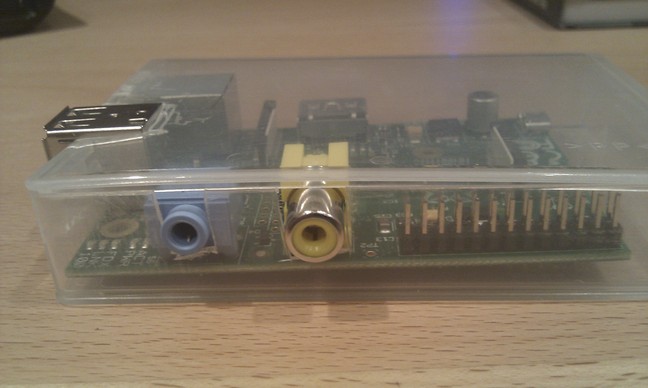
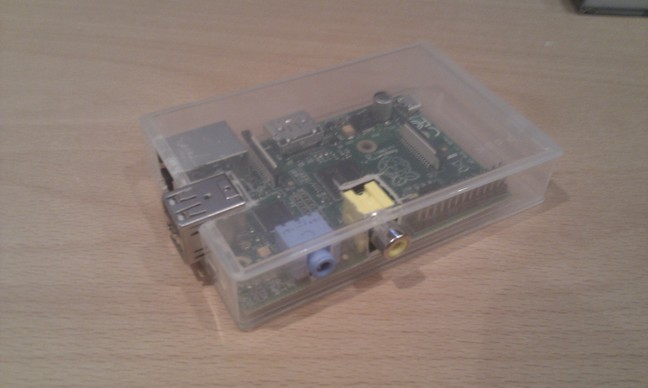 Looking good so far. But what's this? It would seem that now I have made the lid fit over the USB port, it has revealed another slight prodution for the coaxial connector. Annoyingly we are only taking about a 0.5mm!
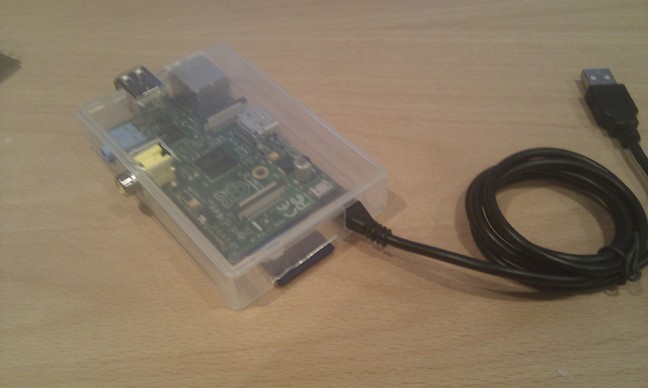
This leaves the final 2 holes that I need. One for the SD card and one for the power.
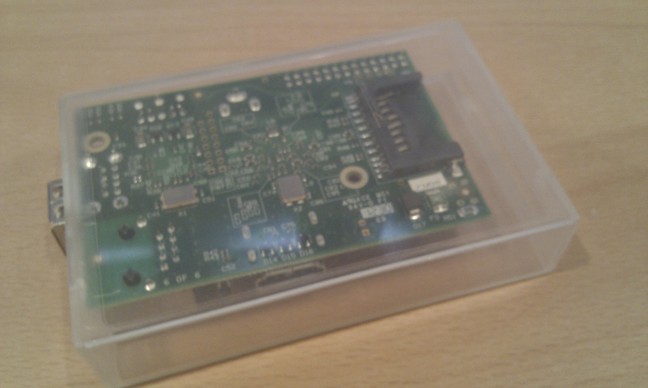
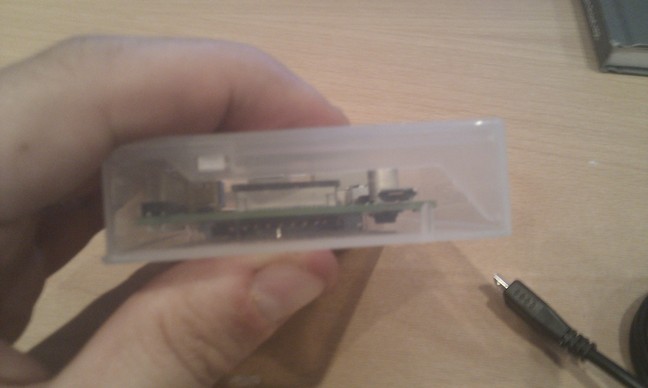 
 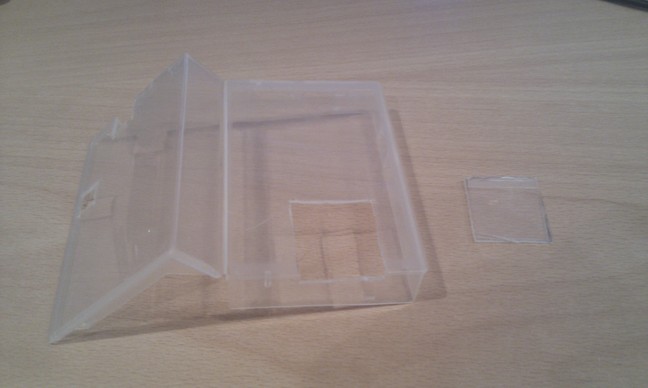 
 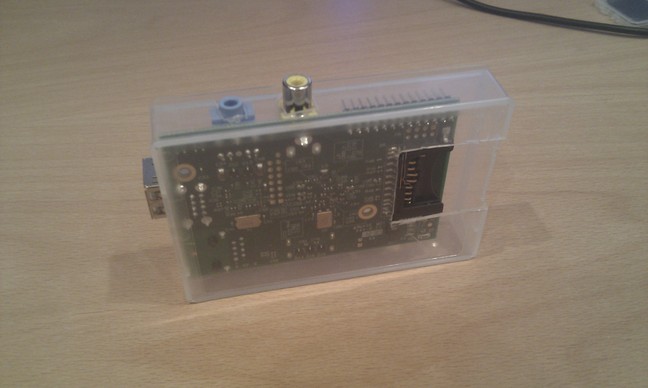 
 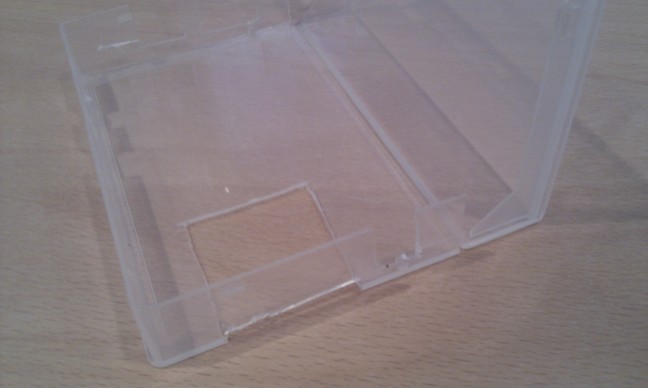 

And the final result...
Latest Blogs
-
Skype Adverts Compromised?
Published: 07/09/2018
-
Porn names and other fun games
Published: 05/07/2017
-
MacOS Sierra PPTP VPN Client
Published: 16/01/2017
-
Last day of my 30's
Published: 09/06/2016
-
phpStorm Crash resulting in missing Deployment Menu
Published: 06/11/2015
